Large-scale Computations
Overview
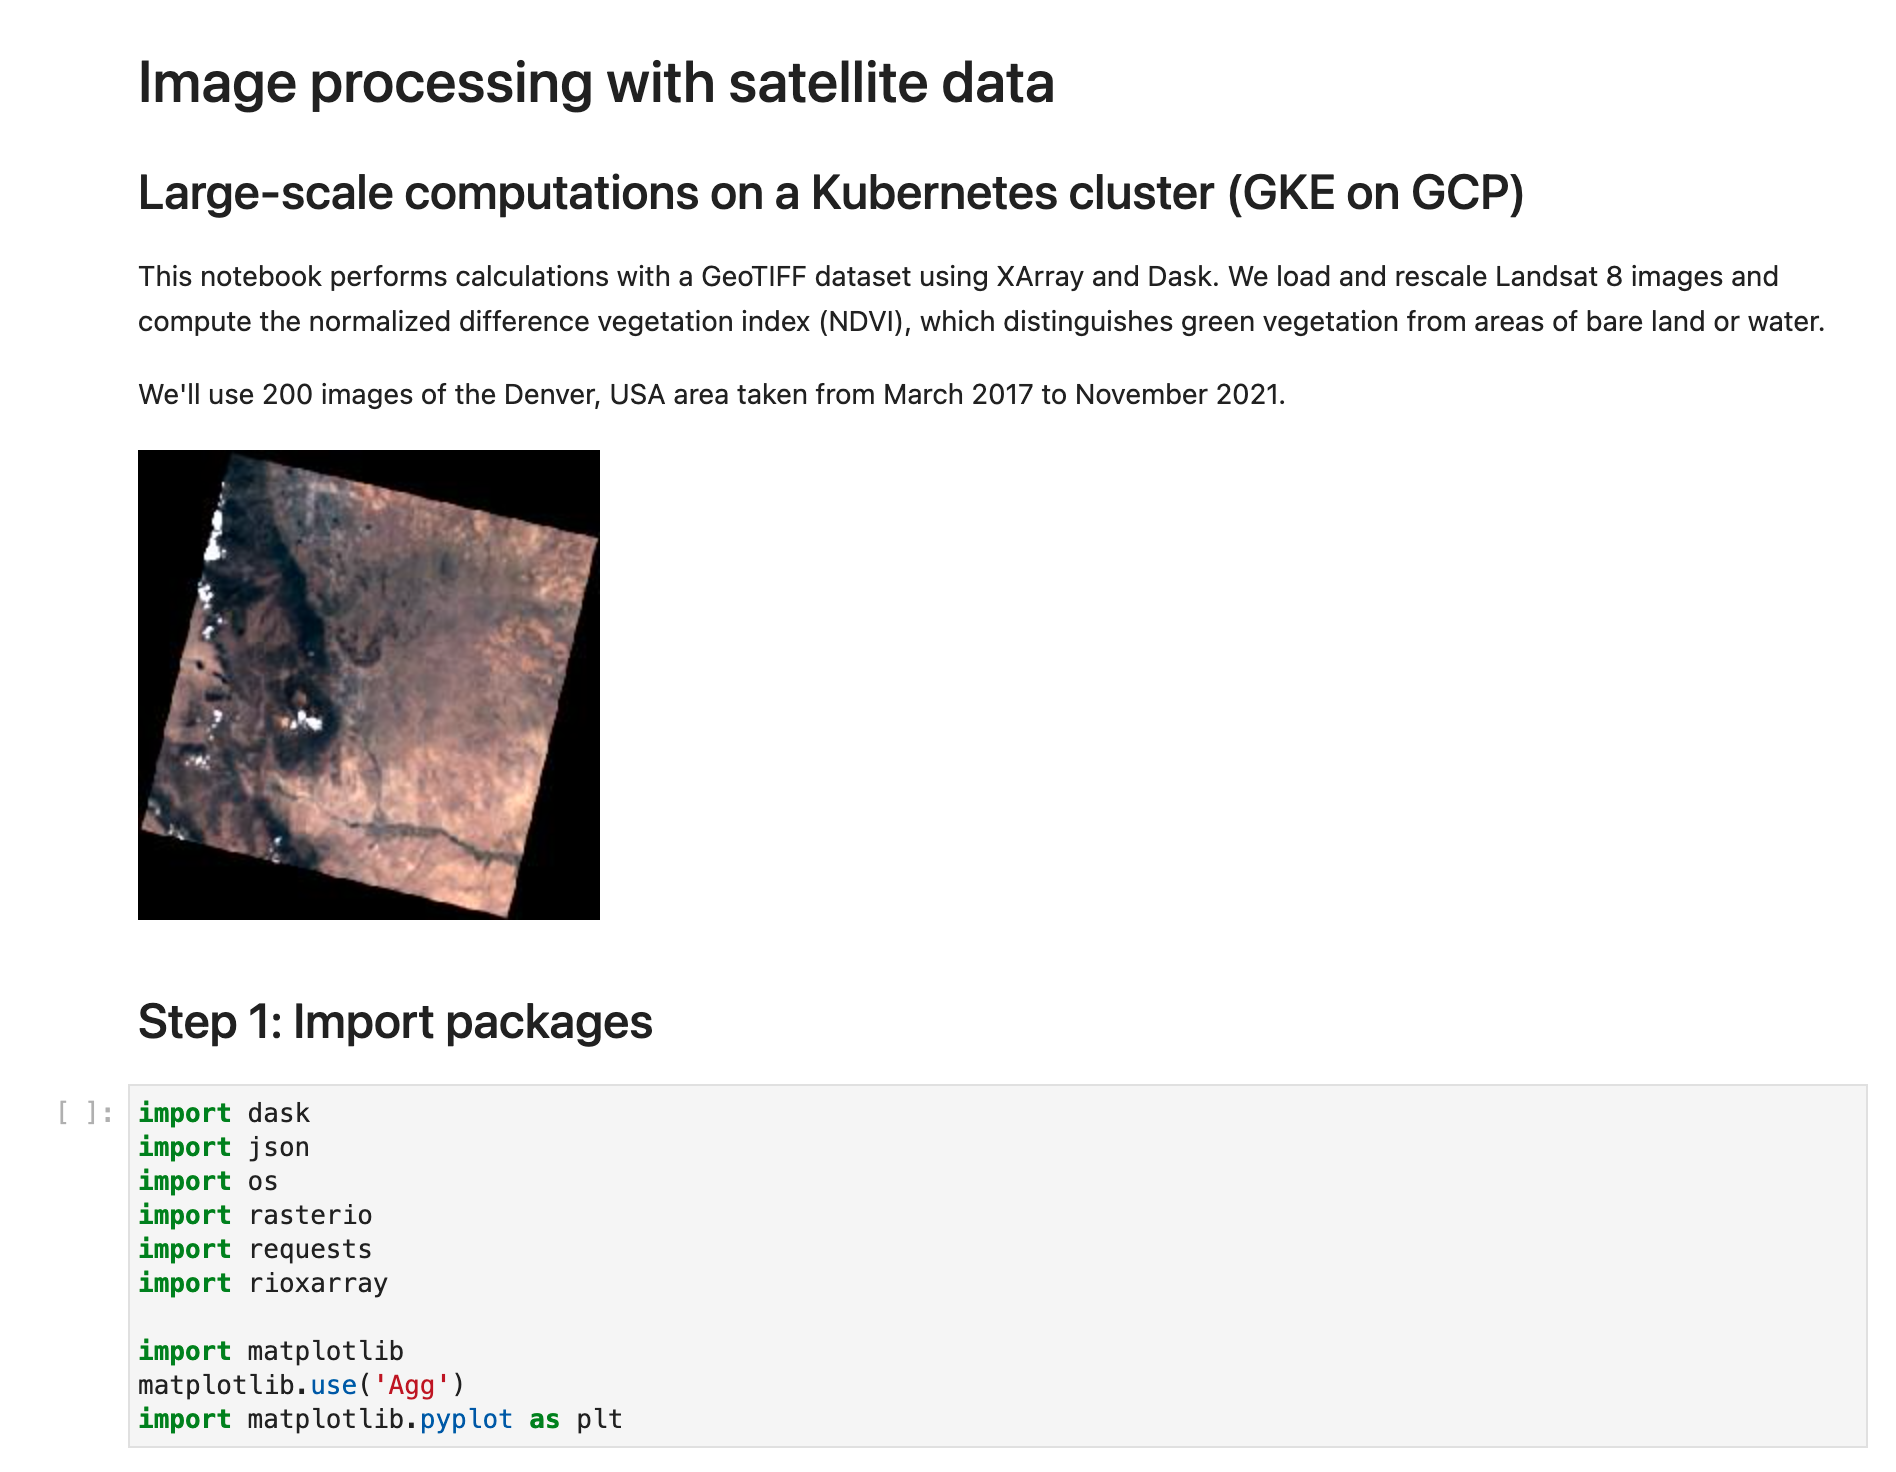
The notebook for this example runs large-scale computations on a Kubernetes cluster in Google Kubernetes Engine (GKE) on GCP using XArray and Dask.
Step 1: Create a Kubernetes cluster in GKE
Follow the steps in the GCP documentation to create a GKE cluster.
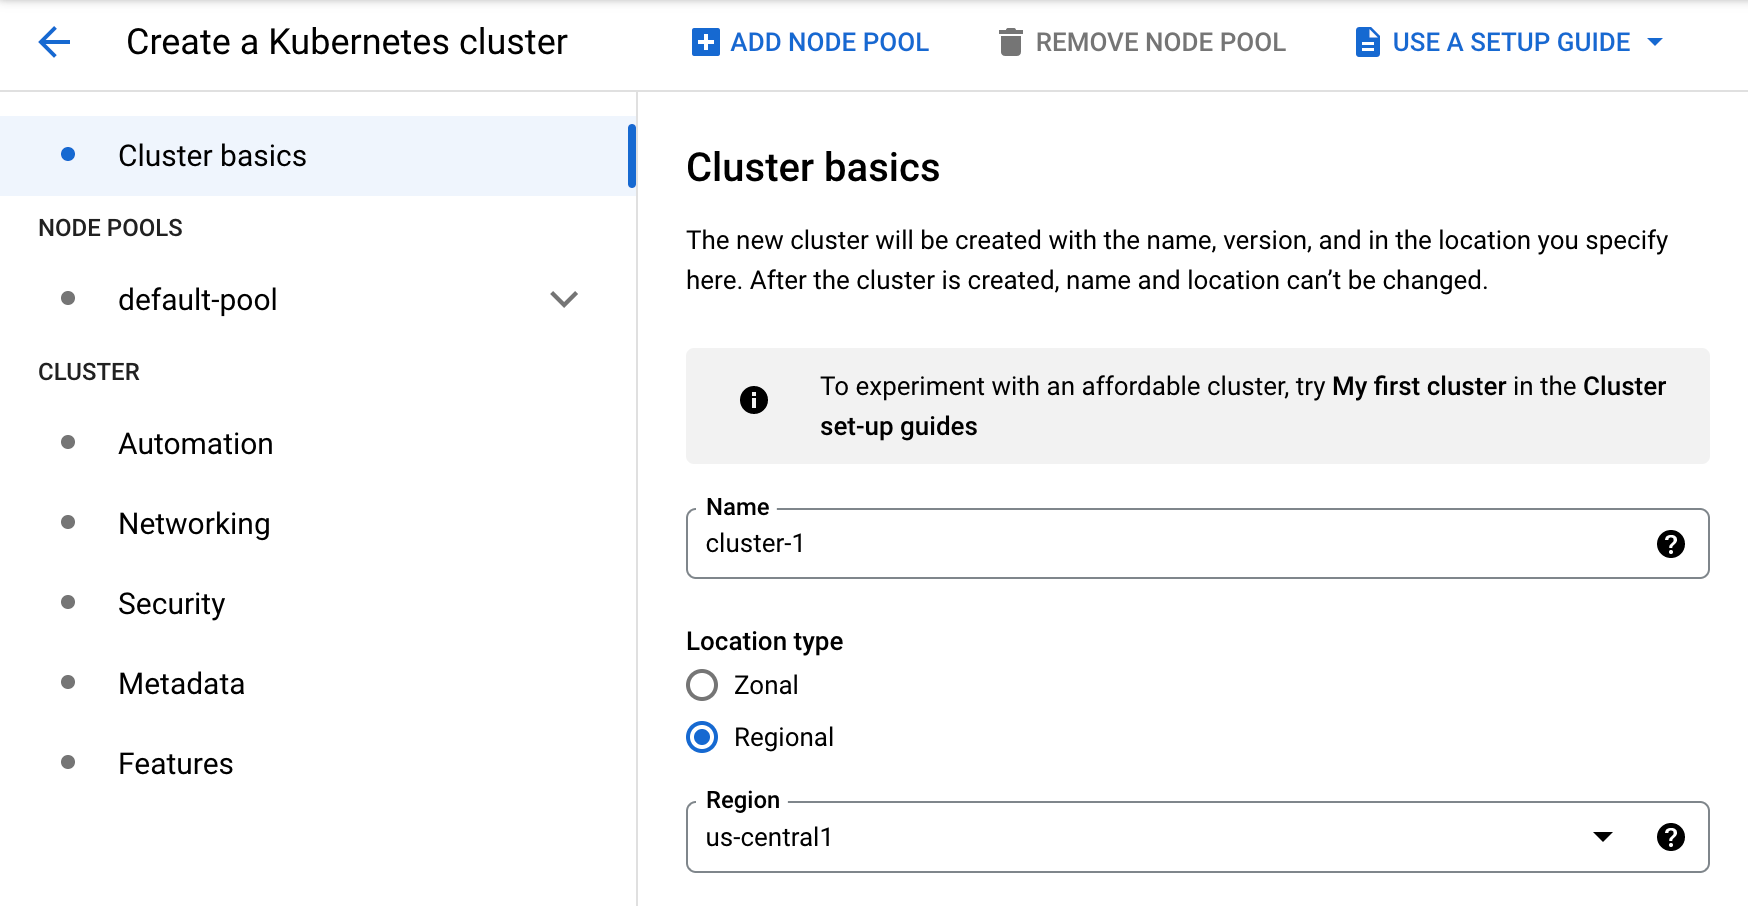
From the Google Cloud Console, navigate to Kubernetes Engine > Clusters,
then click on Create. For this example you can select the GKE Standard option,
environment, give your cluster a name, and select your desired zone.
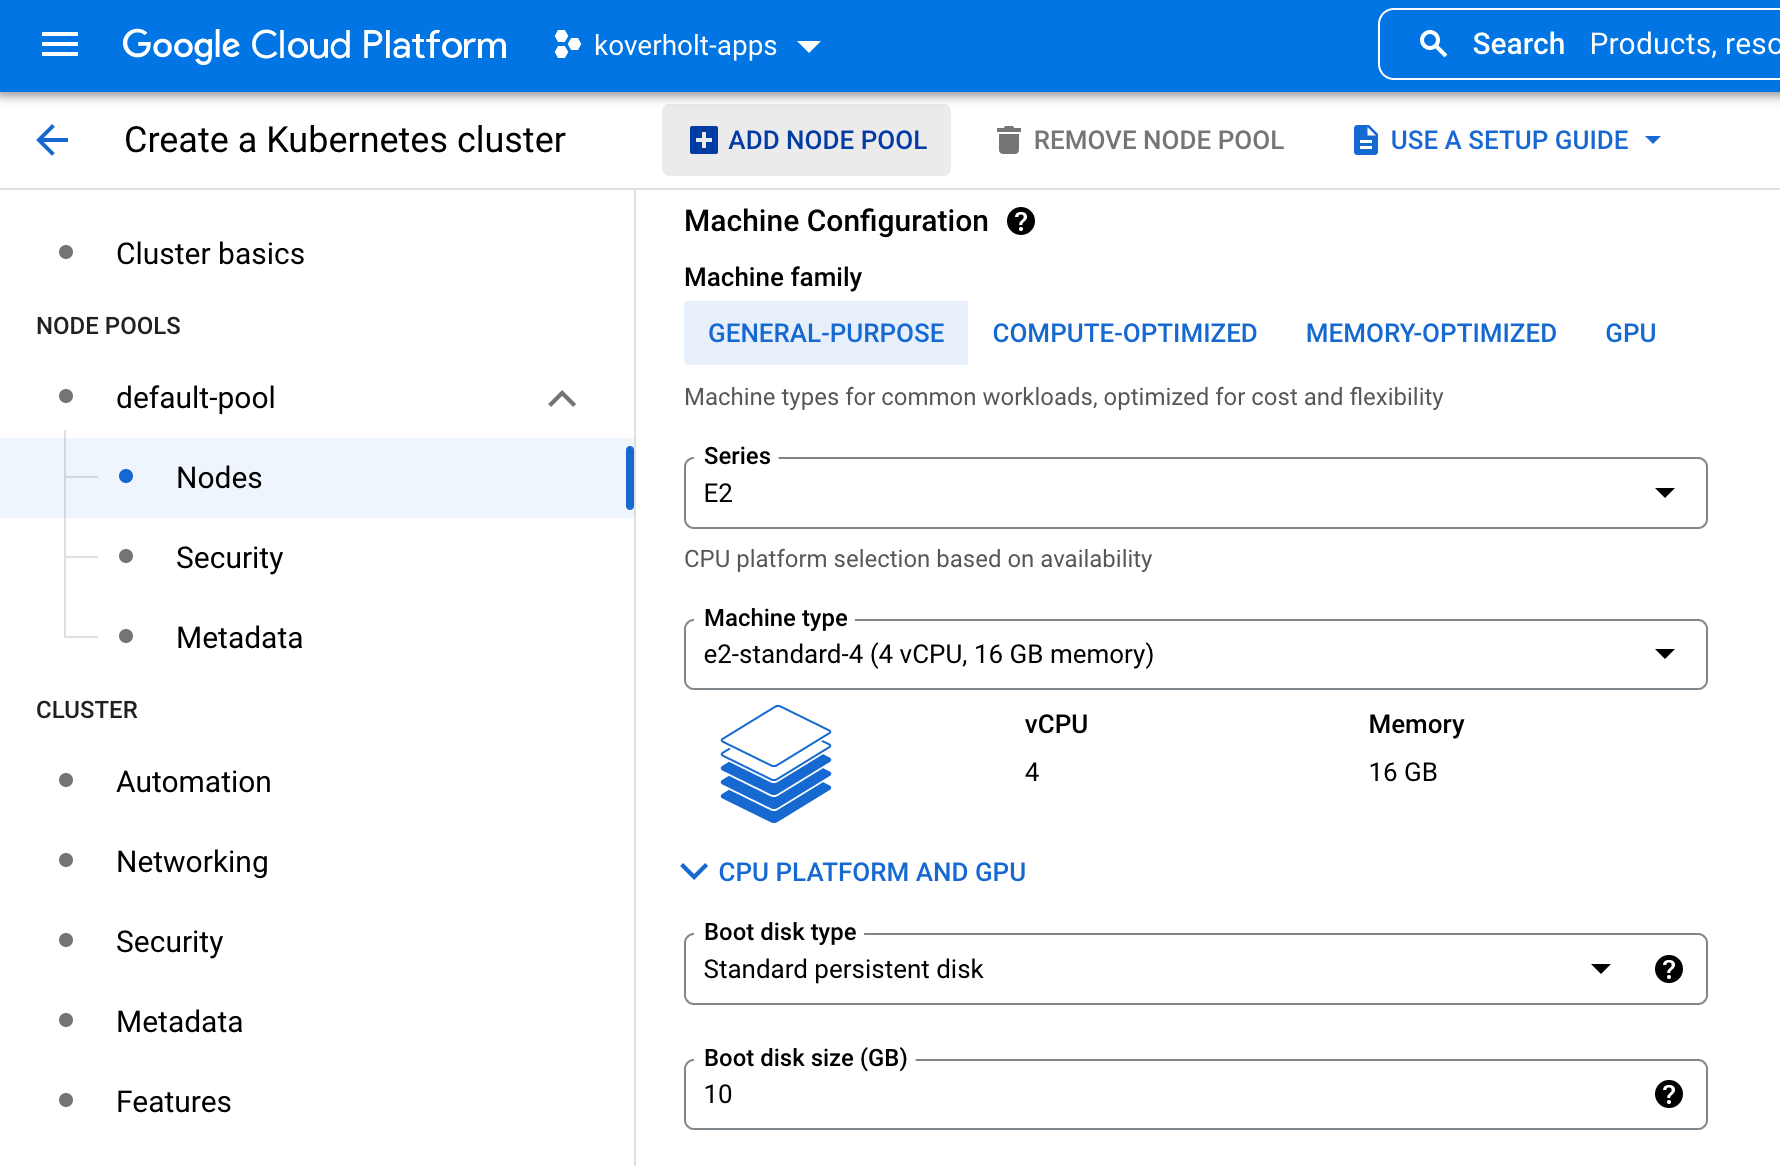
For this example, we'll use 10 nodes on a cluster with machine types of
e2-standard-4, which have 4 vCPUs and 16 GB RAM each, along with a 10 GB boot
disk size.
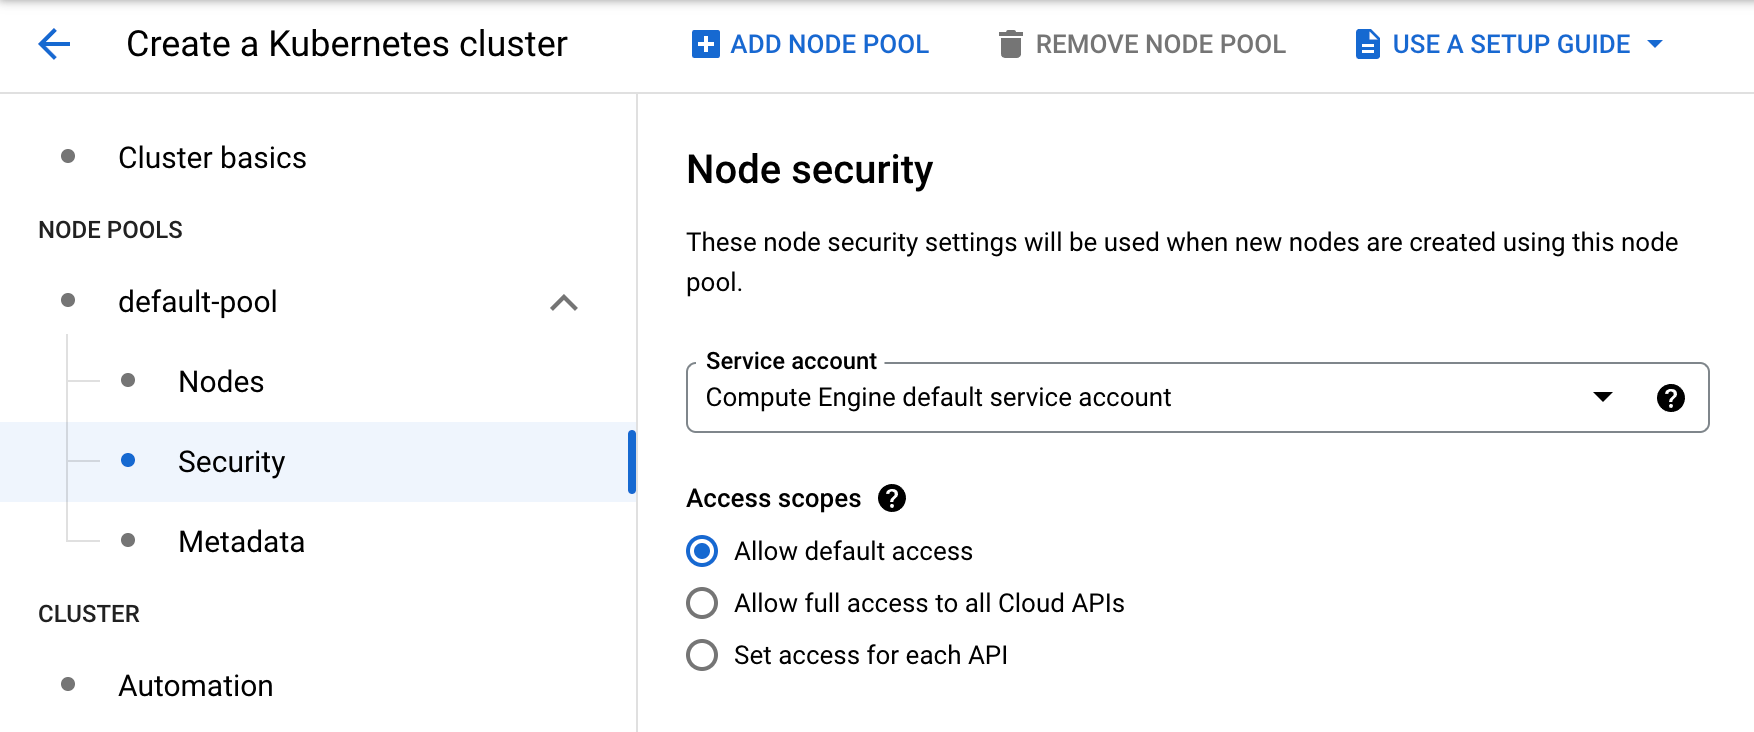
Because we will be writing the processed images to a bucket in Google Cloud
Storage, we'll need to configure the Access Scopes in the Node Security
settings to Allow full access to all Cloud APIs:
Once the Kubernetes cluster is running, we're ready to proceed to the next step.
Step 2: Use Python and notebook environment from medium-scale example
For the purposes of this example, we'll reuse the Python environment and notebook that we created in the medium-scale example.
If you already created a Python environment and notebook kernel, cloned the repository, installed dependencies, and ran the medium-scale example notebook, then you can skip to the next step.
If you have not already created a Python environment and notebook kernel, then follow the steps in the documentation page for the medium-scale example to create a Python environment and notebook kernel, clone the repository, and install dependencies.
Step 3: Authenticate to the GKE cluster
From within the notebook environment, open a new terminal window and authenticate to the GKE cluster by running a command similar to the following, which you can obtain from the GKE section of the GCP console:
gcloud container clusters get-credentials <YOUR_CLUSTER_NAME> --zone <YOUR_ZONE> --project <YOUR_PROJECT_NAME>
Step 4: Run the large-scale notebook
Open the notebook located at
scaling-python-on-gcp/3-large-scale/satellite-imagery.ipynb for this
large-scale computation, which contains all of the remaining code that you need
to run for this example.
Be sure to switch to the notebook kernel for the py38 conda environment that
you created earlier.
Run through all of the notebook cells to point to the satellite image data, start a Dask cluster on Kubernetes in GKE, and compute and visualize the NDVI.
Success!
Congratulations! 🎉 You've successfully run the large-scale computation example and calculated the normalized difference vegetation index (NDVI) on 200 satellite images on a GKE cluster in GCP and save the processed images to Google Cloud Storage.